

Custom Sign In and Sign Up Pages with Clerk
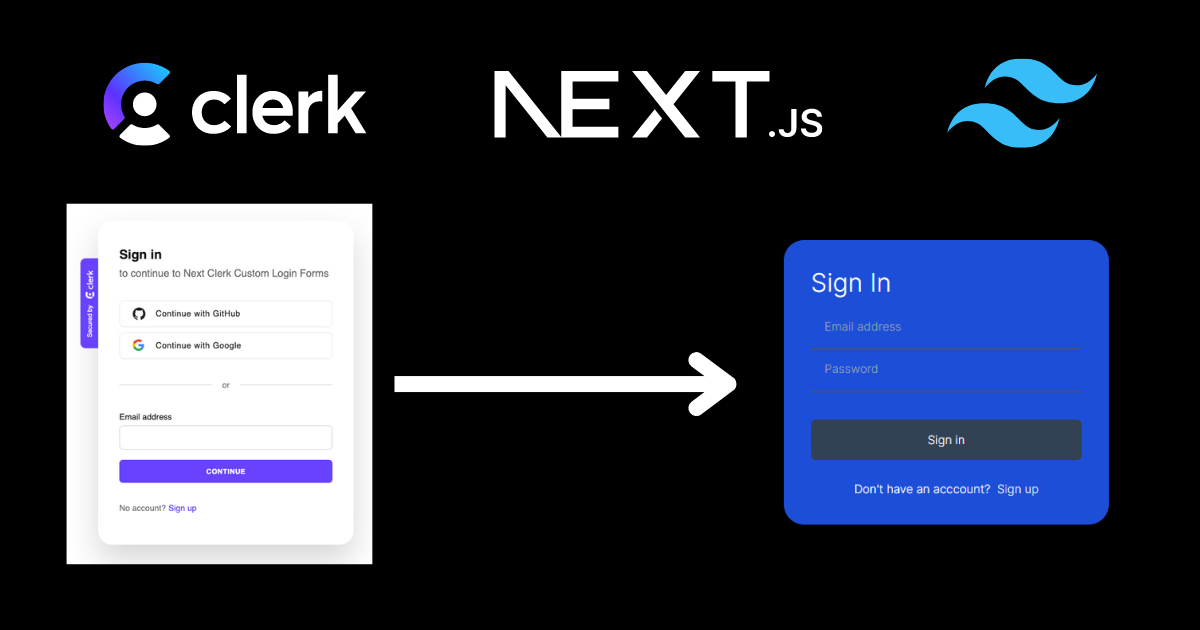
In this guide, we will set up custom sign in and sign up pages using Clerk in a Next.js application. Rather than using Clerk's default URLs, we will create these pages within our project, utilizing Clerk's components to streamline the process.
Why Custom Pages?
By creating custom sign in and sign up pages within your project, you have full control over the layout and styling, ensuring a consistent user experience throughout your application. Clerk's components make this process fast and efficient.
Getting Started
We'll assume you already have a Next.js project set up with Clerk installed. If not, refer to the previous guide on Setting Up Authentication with Clerk.
Step 1: Create Custom Pages
First, let's create the custom sign in and sign up pages within our project directory.
Sign Up Page
mkdir -p pages/sign-up/[[...slug]]
touch pages/sign-up/[[...slug]].js
In pages/sign-up/[[...slug]].js, add the following code:
import { SignUp } from "@clerk/nextjs";

const SignUpPage = () => (
  <div className="min-h-screen flex items-center justify-center">
    <SignUp />
  </div>
);

export default SignUpPage;
Sign In Page
mkdir -p pages/sign-in/[[...slug]]
touch pages/sign-in/[[...slug]].js
In pages/sign-in/[[...slug]].js, add the following code:
import { SignIn } from "@clerk/nextjs";

const SignInPage = () => (
  <div className="min-h-screen flex items-center justify-center">
    <SignIn />
  </div>
);

export default SignInPage;
Step 2: Update Environment Variables
Update your .env.local file to include redirect URLs after sign in and sign up:
CLERK_FRONTEND_API=
CLERK_API_KEY=
NEXT_PUBLIC_CLERK_SIGN_IN_REDIRECT_URL=/chat
NEXT_PUBLIC_CLERK_SIGN_UP_REDIRECT_URL=/chat
Replace <YOUR_CLERK_FRONTEND_API> and <YOUR_CLERK_API_KEY> with your actual Clerk API keys.
Step 3: Restart the Server
After updating environment variables, restart your development server to apply the changes:
npm run devStep 4: Test the Setup
Navigate to http://localhost:3000/sign-up and http://localhost:3000/sign-in to test your custom sign up and sign in pages. You should see the Clerk sign up and sign in components rendered within your custom pages.
Step 5: Clean Up Local Storage
If you encounter issues with existing session data, clear your browser's local storage and cookies to start fresh.
Customizing the Layout
To customize the layout of your sign in and sign up pages, wrap the SignIn and SignUp components with your own layout components. For example:
const CustomSignInPage = () => (
  <div className="min-h-screen flex items-center justify-center bg-gray-100">
    <div className="max-w-md w-full bg-white p-8 rounded shadow-lg">
      <SignIn />
    </div>
  </div>
);

export default CustomSignInPage;
Repeat this process for the sign up page to maintain consistency in your application's design.
Conclusion
By following these steps, you have successfully set up custom sign in and sign up pages using Clerk in your Next.js application. This approach provides a seamless user experience, with complete control over the styling and layout of your authentication pages.
Post a Comment
0Comments